Q: Hello I found your list of compatible Z-Wave Devices with my Vivint Sky Panel. Once I buy them how do I go about adding them to my Sky Panel? What type of functionality will I get from it?
A: Hello, so I have listed the steps in order to add Z-Wave Devices to your Vivint Sky Panel below. Its DIY friendly and you shouldn't run into too many issues. Just keep in mind if you are having issues pairing its commonly range or the device needs to be factory reset. First try moving device or panel closer to each other 1-2 feet for initial pair and then you can move it back to its home location. If that doesn't work please read this write up on Factory reseting Z-Wave Devices.
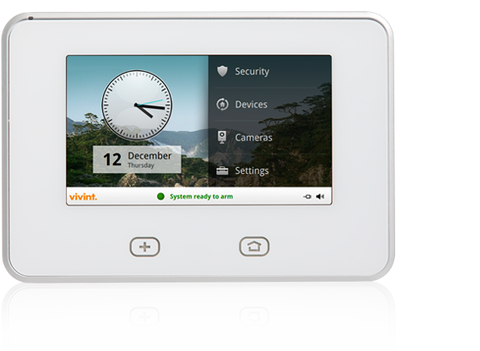
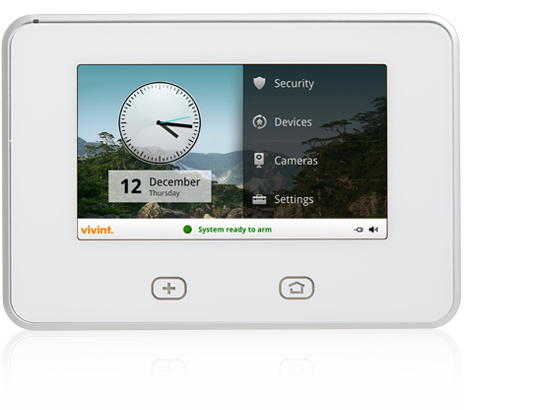
This is for newer Sky Control Users (see below if you have an older system)
1. Go to your SkyControl panel and tap the menu button in the bottom right corner (three horizontal lines)
2. Tap 'Settings'
3. Enter your master code
4. Tap 'Installer Toolbox'
5. Enter your installer code. If you are not sure what your code is or you are having problems getting into the installer toolbox contact your installer or vivint directly.
6. Tap 'Z-Wave'
7. Tap 'Add Node'
8. At this point, go to your light switch or z-wave device and make sure it’s plugged in and powered where you want it. If over 25 feet from panel you may need to unscrew panel from wall and pair closer for initial pair. Then activate your Z-Wave device (typically turning on a light switch or pressing the pair button on the back of a door lock).
9. Return to your panel and make sure that your screen is reading the information for the module you just added. The panel should show 'Device successfully added.' Tap 'Back' and press the Home button. If it’s not there, return to your device and repeat step eight. It can take two-three minutes for your touchscreen panel to download all the device settings and for the device to be fully functional.
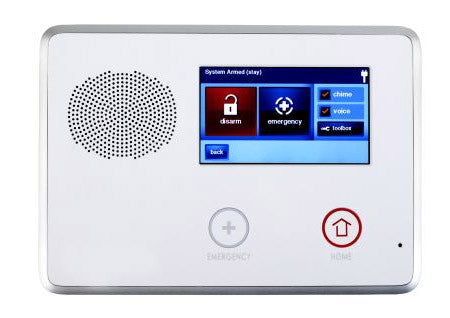
For Go!Control Users:
1. Go to your touchscreen panel
2. Choose Services
3. Choose the wrench icon
4. Enter your installer code. If you are not sure what your code is or you are having problems getting into the installer toolbox contact your installer or vivint directly.
5. Select 'Add Device'
6. At this point, go to your light switch or z-wave device and make sure it’s plugged in and powered where you want it. If over 25 feet from panel you may need to unscrew panel from wall and pair closer for initial pair. Then activate your Z-Wave device (typically turning on a light switch or pressing the pair button on the back of a door lock).
7. Return to your panel and make sure that your screen is reading the information for the module you just added. The panel should show 'Device successfully added.' Tap 'Back' and press the Home button. If it’s not there, return to your device and repeat step six. It can take two-three minutes for your touchscreen panel to download all the device settings and for the device to be fully functional.
Comments
Climatsag:
Друзья, здравствуйте!
Монтаж, установка и обслуживание климатической техники. Интернет магазин кондиционеров, заказать установку кондиционера на выгодных условиях можно у нас. Поможем выбрать кондиционер
купить и установить кондиционер
Aug 02, 2020
Karalinkasag:
Друзья, щедро делюсь с вами информацией. Нашла тут сайт, при добавлении на который, мой баннер размещается на всех сайтах сделанных одной web-студией, их не много, но они достойные! Есть посещаемые социальные сети и видно, что функционирующие Интернет магазины…
Как по мне получить такую рекламу сразу всего за 5 рублей в сутки отличный вариант. Да это ротатор, но метрика стала показывать заходы с этого сервиса и некоторые длятся почти два часа с четырьмя зелеными кружками, такого раньше замечено не было.
Если что не так, не судите строго, посоветуйте, может я не права?
Добавь свой баннер сразу на множество интересных сайтов, разместив его на одном
Jul 30, 2020
Joel:
Finally found the installer toolbox within the newest software version. Select devices the sky panel then software version. It asked for the PIN.
Of course the installer PIN I’ve used for years no longer works.
Any idea where I can find the latest installer PIN?
Oct 08, 2018
bs:
Because the friggin installer code disappears after 24hrs – such a joke – you need to call Vivint directly (waiting on hold for 20min) just to add a smart bulb. Nonsense.
Mar 10, 2018
Vince:
Is the Aeotec by Aeon Labs Z-Wave Plus Siren compatible with the Vivint Sky Control Panel?? I see you have Vivints old panel (Go Panel) listed but not the sky panel. Please let me know?
Nov 27, 2017
Aaron:
Tap the version number on the right side of the screen when in device menu. This will pull up the ITT. They hid the menu for some reason, but it’s still accessible.
Sep 04, 2017
Wade:
When you g oto Devices, and go under Panel I believe it is (at work) Check for Software Version, and then click on it… it will then ask you for a password, and give you access to the installers tool box.
Aug 01, 2017
Skylar Bilkowski:
The installer toolbox is gone where do I go now??
Jun 28, 2017
Mark:
After the latest firmware update I can not find the tools panel /installer tools menu anywhere!
Jun 12, 2017
Leave a comment