Levven Support
Switches and Controllers
Use compatible LED disk lights to ensure dimming will function correctly.
Some LED disk lights are not compatible with electronic dimmers. They flicker when dimming, or fail to dim at all.
Levven has tested and confirmed that the LED disk lights listed below are compatible with the Levven GPDT15 dimming controller:
| Manufacturer: | Model Number: |
| LOTUS | LL4G-30K |
| NICOR | DLR56-3009 |
| NORA | NLOPAC-R650930A |
| ORTECH | DISC4 |
| ORTECH | DISC6 |
| ORTECH | SLIM4BP |
| ORTECH | 2180 |
| PHILIPS | FD6R09930TE1W |
| SEAGULL | 14520S-16 |
Levven has tested and confirmed that the LED disk lights listed below are not compatible with the Levven GPDT15 dimming controller:
| Manufacturer | Model Number |
| BAZZ | SLDSKB4W |
| Dawn Ray | DR400RW |
| HALO | HLB4069FS1EMWR-C |
| LIGHTLINE | SLIM LED MULTI 8W/120V 4" |
| LITHONIA | WF4LED3K |
| Standard | 63653 6" Disk |
| Standard | 63644 4" Disk |
Two methods to pair switches and controllers
- If the Levven Q mobile gateway is installed and connected, switches and controllers can be paired using the Levven smart lighting mobile app.
- Switches and controllers can be paired manually.
Pairing switches using the Levven app
Watch the Change What a Switch Operates in the Levven App video (2:37):
Manually pairing switches and controllers
The manual pairing process will work with and without the Levven Q mobile gateway.
Watch the Pair Levven Switch and Controller video (1:55):
There are three steps to pairing a controller:
- Press the button on a wired controller – the LED on the controller will flash green.
- Squeeze then release both ends of the switch simultaneously to send a pairing code to the controller – the LED on the controller will flash green and red. It is OK to squeeze the switch multiple times to ensure the pairing signal is sent and received. If the pairing signal is not received by the controller within 60 seconds, the controller will stop blinking. If the load controller stops blinking, repeat Step 1.
- Press the button on the controller again to lock in the pairing – the LED will quickly flash green and then stop.
Your switch and controller are successfully paired.
Controllers in the Levven Controls consumer product line may be paired with up to three different switches.
Controllers in the Levven Controls Pro professional product line may be paired with up to 10 different switches.
Follow these troubleshooting steps if pressing the switch does not correctly turn your power on or off.
Is the switch’s LED blinking when you press on or off? If not, then the switch may not be paired to a controller, or it may have a battery issue.
Check the battery:
Gently remove the switch rocker from the base and ensure the battery is in place. The battery terminals (the top and bottom faces of the coin cell battery) must contact the circuit leads to supply power to the switch transmitter.
If the battery is installed correctly and the switch LED does not blink when the rocker is pressed on or off, test the switch with a known good battery – either a new battery or a battery from another switch.
If the battery in your switch failed you need a replacement battery.
Check the pairing:
Switches can be paired to one or more controllers. If the switch in question is part of a 3-way switch (i.e. two switches controlling one light), test if the other switch works.
If the switch's battery is good, and the switch LED is not flashing when the switch is pressed, the switch may not be paired to the controller.
- Re-pair the switch to the desired controller by following this guide.
- Try to move the switch closer to the load controller and repeat the previous steps.
- If you own a Levven Q gateway, check if the switch is highlighted with color in the Levven app when you press the switch on the wall. If the switch you press does not get highlighted in the app, attempt to re-pair with the switch and controller with this guide.
- Try to move the switch closer to the Levven Q gateway and repeat the previous steps.
- Try to pair the switch with a different load controller. If the pairing process works and the switch can operate the alternate load controller, then it is a problem with the original load controller.
- Try to pair an alternate switch with the desired controller. If the pairing process works and the alternate switch can operate the controller, then it is a problem with the original switch.
If you are still having issues pairing the switch with the controller, please get in touch with us.
If you are having problems pairing your switch to a controller, check the following:
- Watch the How to Pair a Switch to a Controller video (1:55) to see if you followed the process properly.
- Make sure you have wired the controller correctly. If the controller’s LED indicator is not lit red or green, then the controller does not have power.
- Make sure you squeeze and quickly release (under one second) both ends of the switch when the controller is in the pairing mode (flashing green).
- If you are pairing a switch to more than one controller, make sure the controllers have been grouped together. Review the How to Group Levven Controllers article for information about controller groups.
If your switch and controller are still not pairing, please contact our support team.
Clear Saved Switch Pairings
To remove all saved switch pairings for a grouped controller, hold down the controller button for 5 seconds until the LED flashes red and green. Let go of the pairing button when the LED flashes at 5 seconds.
If the controller has been grouped with other controllers, it will remain grouped, but it will be no longer have any saved switch pairings.
Reset the Controller's Group
To remove all group data, press and hold the controller button for 10 seconds. It will flash at 5 seconds to indicate switch pairings have been cleared, and flash again at 10 seconds to indicate that the group data has been cleared.
Check out the Clear / Reset Levven Controllers video (0:52).
Perform the switch pairing process for each switch using the three-step pairing process:
- Press the button on a wired controller – the LED on the controller will flash green.
- Squeeze then release both ends of the switch simultaneously to send a pairing code to the controller – the LED on the controller will flash green and red.
- Press the button on the controller again to lock in the pairing – the LED will quickly flash green and then stop.
To add another switch to the same controller, simply repeat the steps for each switch.
Check out the Pair Levven Switch and Controller video (1:55).
Additional Resources
Switches and controllers can be paired manually or paired using the Levven smart mobile app.
You can check out the Pair a Switch to a Controller article for further information.
To remove a controller from a group and restore it to its original factory settings, press and hold the controller’s button for 10 seconds. The controller’s LED will flash red and green twice times during this process; the first flash will happen at 5 seconds. Continue holding the button for another 5 seconds until the LED flashes again.
Your controller will now be restored to its factory settings. You can now add it to a new group and pair it with different switches.
Watch video 'How to Remove a Controller From a Group - Factory Settings Restore' (0:36)
If you are pairing a switch to more than one controller, make sure the controllers have been grouped together so they are able to work together in a way that is secure and unique to that electrical system.
Step-by-step guide for adding a controller to a group:
- To create a new group, press the button on a controller that is already a part of the existing group (i.e. already installed and functioning in the home).
- When the light on the first controller flashes green, press the button on the controller you want to add to this group. The second controller will flash green and the first controller will now be flashing red and green.
- To complete the process, press the button on the first controller. If the first controller was already a member of a group, then you have added the second controller to that existing group. If these two controllers did not belong to a group, then you have just created a new group.
- If your controller needs to be reset (clear its memory of saved group and pairing data), this article on How to Reset Controller Group and Switch Pairings should be of help to you.
You can also check out the Adding a Levven Controller to a Group video (1:56) too.
If you are still having trouble in making the controllers join a group, please contact our support team.
If you are using more than one controller in an electrical project, they need to be grouped to be able to work together. Grouping creates a secure and unique relationship to ensure controllers are intentionally associated with that electrical system. This prevents any accidental pairings and makes the electrical system smart-enabled when adding Levven Q (Levven Controls smart gateway).
Watch video 'How to Add or Create a Controller Group' (0:56)
Battery Type and Lifespan
The transmitter in a wireless switch is powered by a CR2032 button cell lithium battery. Batteries of this type last 7-10 years. The LED status indicator on GSW and PDKW switches will flash when battery life is less than 10%.
When the battery is expired, the switch will no longer function. Cold temperatures diminish battery life. Using the dimmer function on the switch uses more battery power than on-off operations.
Replacing the battery in a Levven Controls / GoConex Wireless Switch
- Open the switch rocker by prying down from the top of the switch. If you have difficulty, try using a wooden toothpick to pry the rocker off of the switch base. Do not use a metal tool to remove the rocker, as you could slip and damage the circuit board inside.
- Slip the old battery out of the contact housing and insert the new battery.
- Snap the switch rocker back onto the switch base. Make sure you match the silicone pads on the back of the rocker with the top and bottom contacts on the switch’s circuit board.
Also check out the Replacing the Battery in a Levven Switch video (1:12).
Levven dimming controllers can work with dimmable LEDs, though dimmable LED lights can flicker or shut off if dimmed or brightened beyond their dimming range.
First check to see if your lights are dimmable. If they are dimmable and your lights still flicker, make sure to set the min/max dimmable settings on the controller.
Use the Levven App to Set a Minimum and Maximum Dimming Level
You can prevent LED lights from flickering by using the Levven app to set a minimum and maximum dimming level.
Check out the Set a Minimum and Maximum Dimming Level video (1:55) to know how to set dimming levels on the app.
Manually Set a Min / Max Dimming Level
Set the dimmer’s max brightness level:
- Press and hold the up/on the button on the switch to increase the light’s brightness.
- If the light flickers, release the up/on the button. Press and hold down/off on the switch to dim the light down to the point where no flickering occurs.
- 2-click/double-click the button on the GDT15 controller. This sets the highest brightness.
- The GDT15 controller’s LED indicator will flash green to confirm the setting is saved.
Set the dimmer’s min brightness level:
- Press and hold the down/off button on the switch to decrease the light’s brightness.
- If the light flickers, release the down/off button. Press and hold up/on the switch to brighten the light up to the point where no flickering occurs.
- 2-click/double-click the button on the controller. This sets the lowest brightness.
- The GDT15 controller’s LED indicator will flash green to confirm the setting is saved.
Reset the dimmer’s max/min brightness level to factory default:
- 3-click/triple-click the button on the GDT15 controller.
When the switch is paired with at least one controller, its LED indicator flashes when the switch is pressed. The flashing LED indicates that the switch has successfully communicated with its controllers.

The light will also flash when the 10 years + life expectancy of the battery reaches 20%, indicating that the common CR2032 watch battery will need replacing within three or four months.
ControllersThe LED on the controllers indicate several states:
- Solid green means the controller is in the off position
- Solid red means the controller is the on position.
- Flashing green means the controller is waiting for a switch pairing or controller grouping
- Flashing red/green means the controller has received the pairing/grouping command and is waiting for a command to lock in the grouping/pairing.
- Rapid green flashing followed by solid green means the controller has successfully locked in the switch pairing or controller grouping.
There are three types of controllers: a 10amp on/off controller, a 1.5amp dimmer controller and a 20amp on/off the controller. To view the loads for each controller please visit the following pages and click on the Specifications link for load information:
For professional products (Levven Controls Pro), visit the Levven Controls Professional Products page.
For consumer products (Levven Controls), visit the Levven Controls Consumer Products page.
Controllers can be installed outside as long as they are contained within a weather-proof box. Controllers are rated between -40 °C (-40.0 °F) and 50 °C (122.0 °F).
All Levven controllers require a neutral (white) wire. To view wiring instructions, please visit the following pages and click on the Instructions link for wiring information:
For professional products (Levven Controls Pro), visit the Levven Controls Professional Products page.
For consumer products (Levven Controls), visit the Levven Controls Consumer Products page.
All Levven Controls controllers can fit in a junction box or existing switch box. The GPC20 (Levven Controls Pro 20amp controller), attaches to the outside of a junction box.
When a switch is paired to a dimmer controller (orange), simply press the switch in the down position to dim the load or press the switch in the up position to increase the brightness. Release the switch at any point to hold the brightness level you choose.
Levven Q
Cloud connection allows you to operate your Levven system while outside of your home as well as connect to third-party systems like Google Home and Alexa.
Connecting to the Cloud

|
To connect your Levven account to the cloud:
You can unlink your Q Gateway from this screen or from the main menu as well. |
|
|
Connection StatusYou will see 2 icons under your Q Gateway's name: Local Connection and Cloud Connection. Local ConnectionConnecting locally can only happen when your phone or iPad are connected to the same wifi connection as your gateway. Cloud ConnectionConnecting through the cloud allows you access to your gateway from anywhere. |
 |
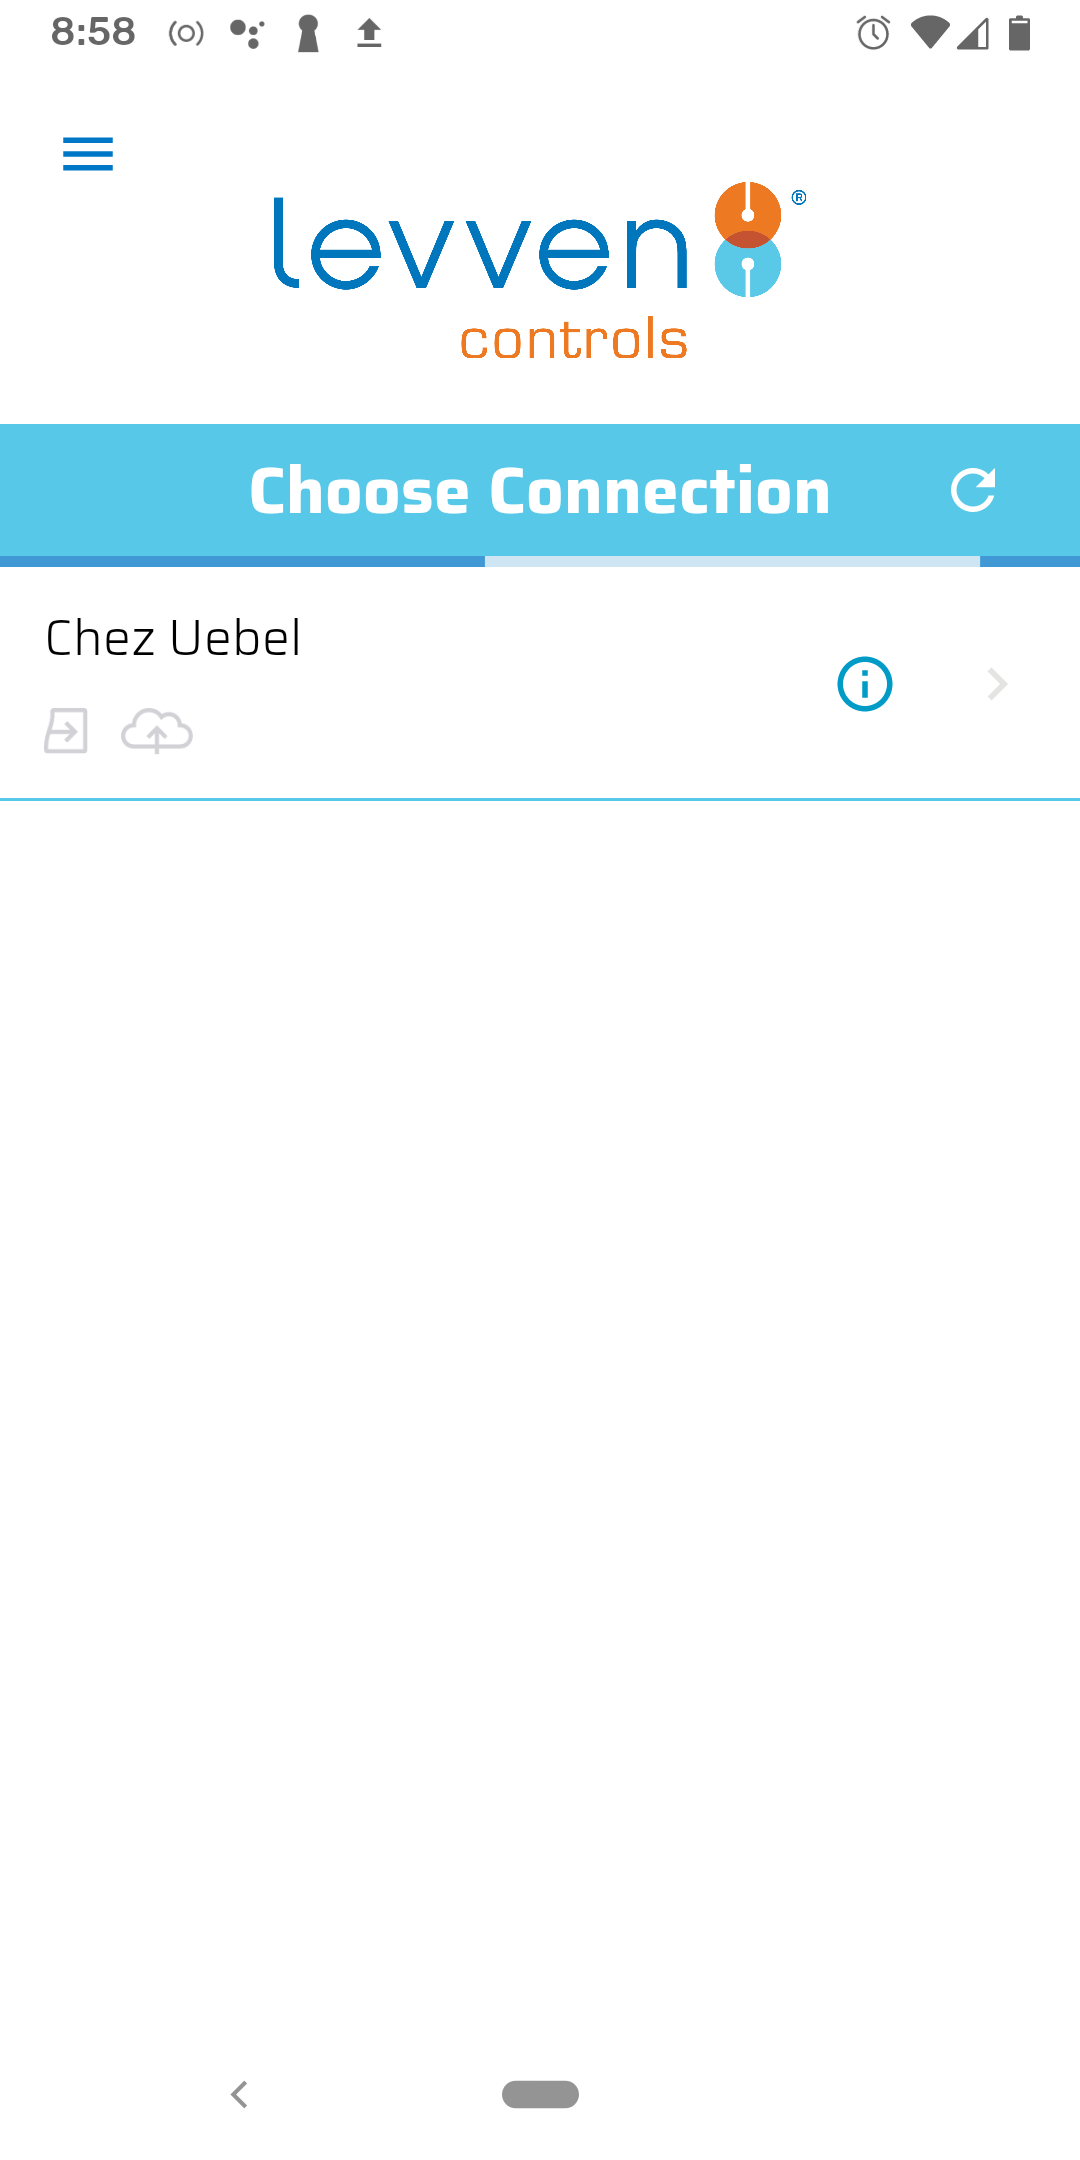
Choose Your ConnectionWhen selecting your gateway, the app will automatically choose a connection based on availability; however, tapping on the info icon allows you to select a way to connect or unlink a gateway from the cloud. |
Connecting to Google Home or Alexa
In order to use your Levven controllers with your voice assistant, you will first need to link your Levven account to the cloud as outlined in the steps above.
Note: It's best to link your Levven account to the cloud before you connect to your voice assistant. However, if you do not do this step first, you will need to go back into your voice assistant's app and have it refresh your devices
Follow the steps below if you have lost access to a device in your Levven app.
Your Levven Q Gateway will check for updates periodically.
The Q Gateway may fail to upgrade a device if it is outside of the Q's wireless range during this process. If this happens, the Levven Controls app will display the System Updates Retry screen.
PDF Guide for Update Troubleshooting
Follow the steps in this PDF Guide to successfully apply the update and restore access to all devices.
Use the Levven smart lighting app to edit which lights or other loads a Levven switch is set to operate. This function of the app allows homeowners to personalize their Levven switches and controllers as needed.
For more information watch the How to Change What a Switch Operates from the Levven App video (2:36).
The Levven mobile app connects to all the Levven switches and controllers in the home via the Levven Q gateway. If you have a Levven Q, install the Levven app to personalize and configure every switch and controller.
With typical usage, the battery in a Levven switch will last for 10+ years. Use the Levven app to check the level of battery life remaining.
To know more check How to Check the Battery Level in a Levven Switch video (1:08).
The Levven smart lighting app connects to all the Levven switches and controllers in the home via the Levven Q gateway. If you have a Levven Q, install the Levven app on your mobile device to personalize and configure every switch and controller.
Use the app to control your lights, fans, and other electrical loads in the home. Edit what lights a switch controls. Set timers and other automation on lights to save energy and improve safety and security.
Check how to Download and Install the Levven App video (0:47).
The Levven Mobile App connects to all the Levven switches and controllers in the home via the Levven Q gateway. Set timers and other automation on lights to save energy and improve safety and security.
Countdown timers can be configured on the controller detail screen in the Levven smart lighting mobile app.
Watch the Countdown Timer video (1:27) to know more.
The Levven Mobile App connects to all the Levven switches and controllers in the home via the Levven Q gateway. Set timers and other automation on lights to save energy and improve safety and security.
Countdown timers can be configured on the controller detail screen in the Levven smart lighting mobile app.
Learn how to Set an Astronomic (Sunset, Sunrise) Timer in the Levven App in this video (1:28).
The Levven smart lighting app connects to all the Levven switches and controllers in the home via the Levven Q gateway.
The first time a Levven Q connects to a controller, no name is assigned. It is helpful to assign meaningful names to the controllers so they can be conveniently identified in the Levven app.
Example names for controllers: "Kitchen Pendant Lights," "Kitchen Recessed Lights," "Downstairs Bathroom Lights"
Watch how to Identify Levven Controllers with Useful Names in the Levven App in this video (2:11).
The Levven smart lighting mobile app connects to all the Levven switches and controllers in the home via the Levven Q gateway.
Create a zone with two or more lights in the Levven app.
Using zones, all the lights in the area can be turned on or off with a single touch. Zones can include all the lights in a room (e.g. a Kitchen Zone), all the lights in an area (e.g. Outdoor Lights), or all of the lights in the entire home (e.g. a master zone that turns all the lights on or off with one touch).
Check the Create and Edit Zones video (1:28) for more information.
Follow these steps to begin using Google Assistant voice controls with Levven Q. (Watch Video) (Read PDF)
Levven Q Setup and Operation
Follow these steps to connect and begin using Levven Q:
- Connect Levven Q to power and to the home network (Watch Video) (Read PDF)
- Connect your mobile device (Watch Video) (Read PDF)
- Setup zones (Watch Video) (Read PDF)
Follow these steps to begin using Amazon Alexa voice controls with Levven Q. (Watch Video) (Read PDF)
The Levven Q is either not connected to power, or there is a problem with the power supply.
Check the connection between the wall plug, power adapter, and the power input.
Test the wall plug with another device to ensure it has power.
Test the Levven Q by connecting its power adapter to a different plug.
If the Levven Q will still not power on, your unit may require a repair or replacement. Please contact Zwave Outlet support.
How to reset Q’s network group configuration
- To clear the Q’s network group membership, press and hold the ‘Pair’ button for 5 seconds. The LED will flash red to indicate the network group information has been cleared.
How to clear all settings/factory default
- Power on Q, then use a small pin to press and hold the ‘Reset’ button for 10 seconds. The LED status indicator will flash 8 times to indicate that all saved settings have been cleared.
If the Levven Q is on (power LED is lit), check that:
- the CAT-5 patch cable is connected to Q’s RJ-45 Ethernet port,
- that your home network switch or router is powered, and
- that your mobile device is connected to your home’s Wi-Fi network.
If your mobile device cannot see your Levven Q after you've connected the Q to your router, try a different LAN port on your router. It has been reported that some internet service providers disable one or more LAN ports on the routers they issue to their customers.
Service and Warranty
REPLACEMENT or REFUND: If, when used as directed, the switch does not operate for one year from date of purchase, contact us. We will send you a replacement. Replacement is Zwave Outlet’s sole warranty obligation. Incidental or consequential damages are excluded.
1-YEAR LIMITED WARRANTY:
Levven Electronics Ltd. (“Levven”) warrants that the products you have purchased shall be free of any defects in parts and workmanship if used under normal operating conditions for a period of one (1) year from the date of purchase, except this warranty shall apply only to the original purchaser.
PLEASE RETAIN YOUR SALES RECEIPT, AS IT IS YOUR PROOF OF PURCHASE COVERING YOUR LIMITED WARRANTY. THIS WARRANTY IS VOID WITHOUT SUCH PROOF OF PURCHASE.
Defective units will be repaired or replaced without charge, at Levven’s discretion, with a like or comparable product by the Dealer if presented with proof of purchase to the Authorized Levven Controls Dealer from whom the product was purchased. Any repair or service performed by any person or entity other than Levven is not covered by this limited warranty. Transportation costs are not included in this warranty. This limited warranty becomes void if the product has been damaged by alteration, misuse, accident, or neglect; or the product has been repaired or serviced by persons not authorized by Levven. THE FOREGOING CONSTITUTES THE ONLY WARRANTY MADE BY LEVVEN WITH RESPECT TO THE PRODUCT AND IS MADE EXPRESSLY IN LIEU OF ALL OTHER WARRANTIES EXPRESS OR IMPLIED. Any implied warranties, including without limitation, any implied warranties of merchantability or fitness for any particular purpose, imposed under state law are limited to the duration of this limited warranty. Some states do not allow limitations on how long an implied warranty lasts, so the above limitations may not be applicable to you.
This warranty is void if the enclosure of the Levven Controls controller or Levven Q has been opened.
LEVVEN ASSUMES NO LIABILITY FOR PROPERTY DAMAGE RESULTING FROM NEITHER FAILURE OF THIS PRODUCT NOR ANY LOSS OF INCOME, SATISFACTION OR DAMAGES ARISING FROM THE LOSS OF USE OF SAME DUE TO DEFECTS OR AVAILABILITY OF SAME DURING SERVICE.
NOTE: This warranty applies only to products purchased and serviced within the U.S.A. and Canada. Warranties outside these countries are as defined by the authorized Levven Controls Dealer for your country or region and may vary from the above in terms and/or length.